 |
|
You can create a dialogue file by using the Create Audio File Wizard. This wizard walks you through the steps for rendering an audio file
which contains all the voice modifications to the audio track. The audio file can be used to add content to a multimedia audio or video project.
|
|
|
Create Audio File Wizard
|
|
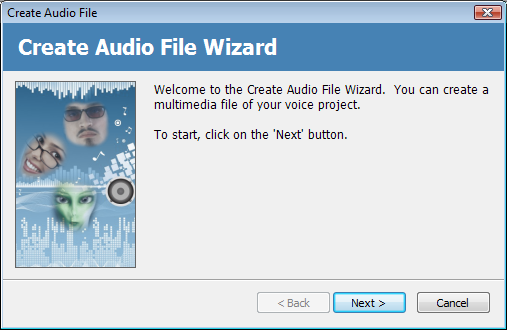
To launch the Create Audio File Wizard, Click on the "File>Create Audio File..." menu item.
|

|
|
At the welcome panel, click the "Next" button continue.
|
|

|
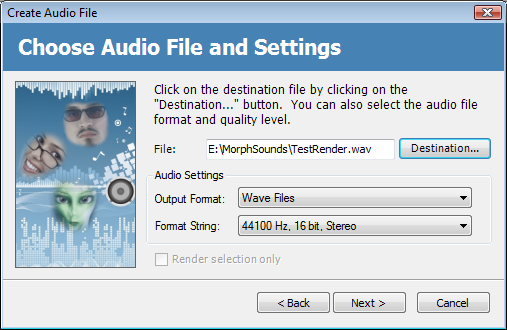
Next, choose the destination file that you would like to render your audio to. You can also choose the file format (*.WAV, *.OGG, *.WMA) as well as the audio quality settings for a given file format.
The wizard will render the entire project timeline by default. You can also choose to
render only the portion of the timeline delimited in the selected areas. Click on the "Render selection only" checkbox to activate this
option.
|
|

|
|
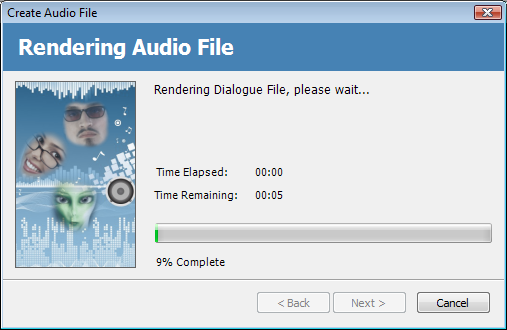
Next, the wizard will render the dialogue file. Once the file has been
fully rendered, the wizard will automatically move forward to the next page.
|
|

|
|
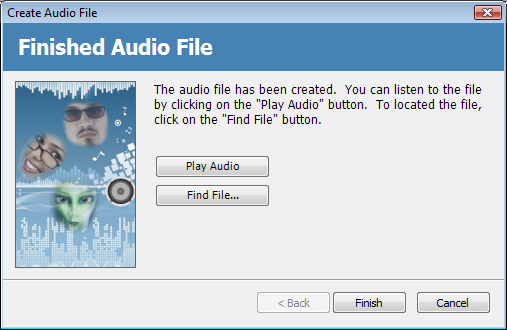
Congratulations. You have created a finish audio file of your project.
You have the option on this page to play the audio file by clicking on the "Play
Audio" button or finding the file in the destination folder.
|
|
 |
|
Click to Go Back
|
 |