 |
|
Loading an Audio File
|
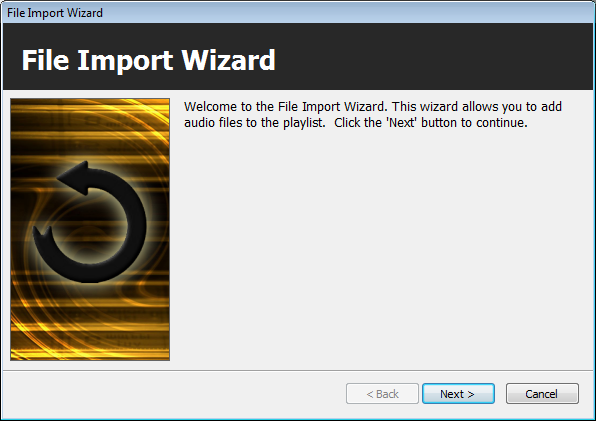
To get started, simply click on the "File> Import File..." menu item. This will
open the File Import Wizard dialog.
|
|
|
Click on the Next button to continue in the Import Wizard.
|
|
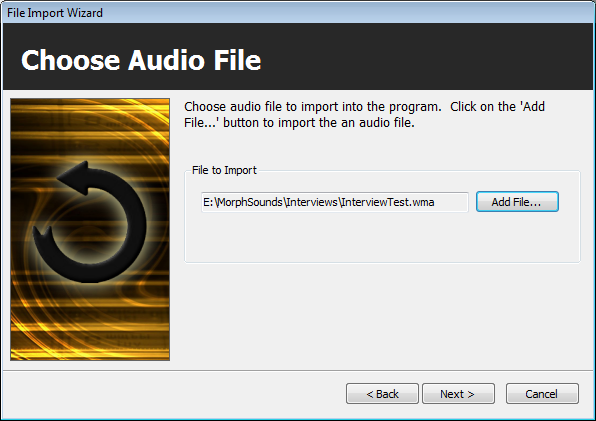
Choose Audio File: Choose an audio file to import. The Import Wizard can
read WAV, OGG, WMA and MP3 files. Click on the "Add File.." button and choose a
file.
|
|
|
Click on the Next button to continue.
|
|
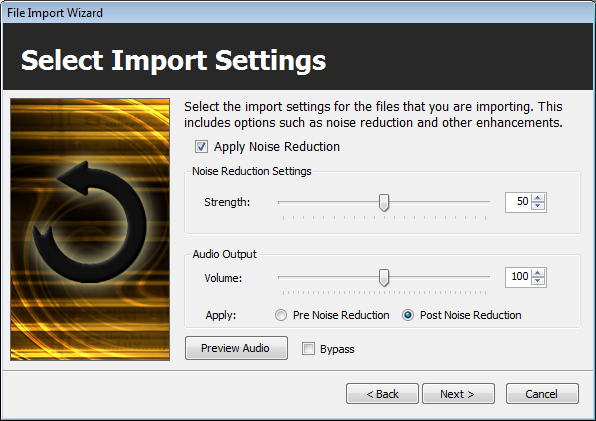
Import Settings: By selecting the "Apply Noise Reduction" option, the
import wizard will apply a noise reduction filter to the audio. This is helpful
for improving clarity of a recording that has background noise, hiss, or hum.
You can also adjust the audio output volume for recordings that are too soft or
too loud. The Preview Audio button lets you preview any changes that you make.
|
|
|
Click on the Next button to continue.
|
|
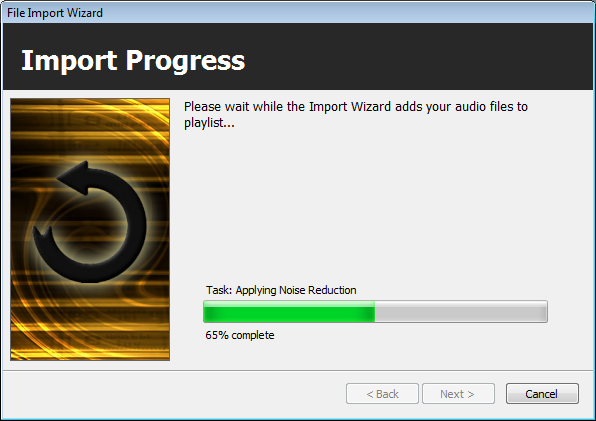
Import Progress: The Import Wizard will process the audio file. If you
chose the "Apply Noise Reduction" option it may take a few minutes to finish all
the tasks.
|
|
|
Click the Next button to continue.
|
|
|
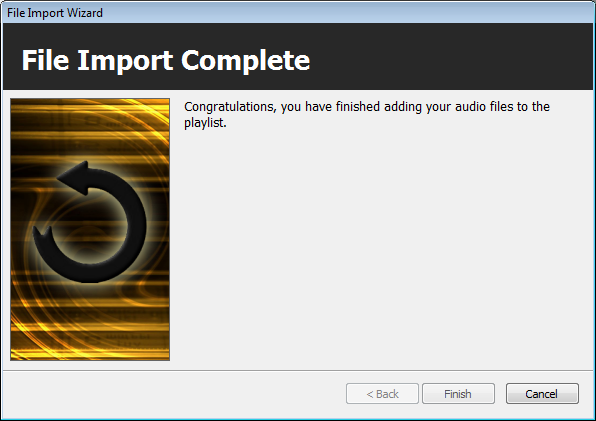
File Import Complete: The file import process should be complete. Click
on the Finish button to complete the loading of the audio file into the
Playlist.
|
|
|
| Loading CD Audio |
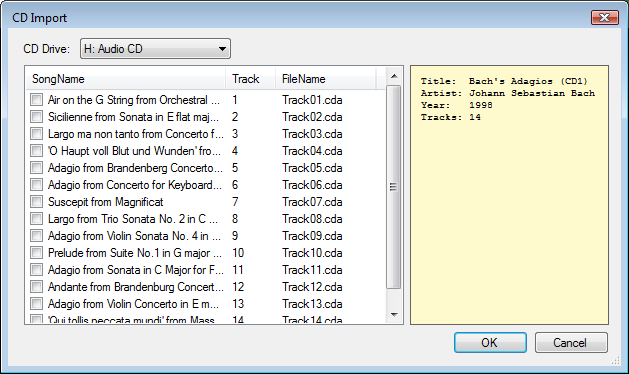
To load audio from a compact disk, click on the "File>
Import CD Audio..." menu item. This will open the CD Import dialog. If you have
an Audio CD in your CD or DVD drive, you will see a list of files. If you are
connected to the Internet, the CD Import dialog will do its best to retrieve
title, artist and song information from public CD databases and display them in
the user interface.
|
|
|
Click on the checkbox next to the CD audio files that
you want to import and click the OK button. The CD audio files will be added to
the Playlist.
|
|
 |
|
Click to Go Back
|
 |