 |
|
This guide will provide a brief introduction to Voice Again. It will
provide an overview of the essential controls and functionality of the program.
|
|
Starting Voice Again
|
|
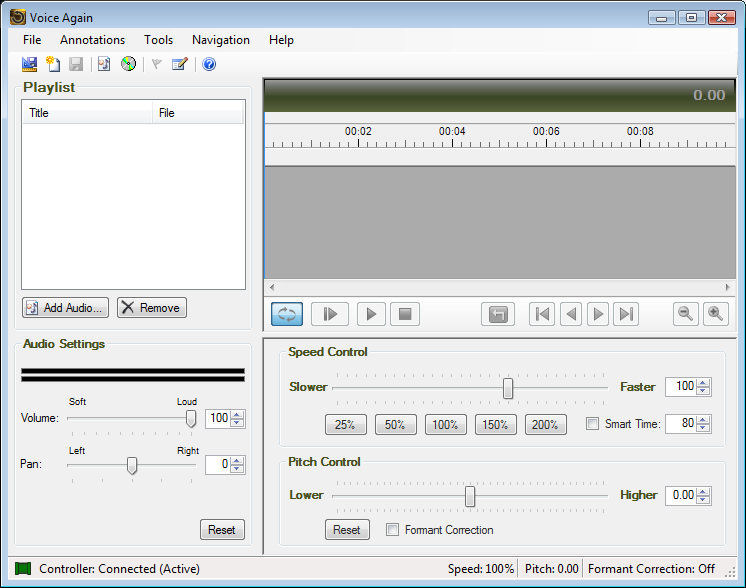
When you first start Voice Again, you will start with an empty project.
|
|
|
|
Importing Audio into Playlist
|
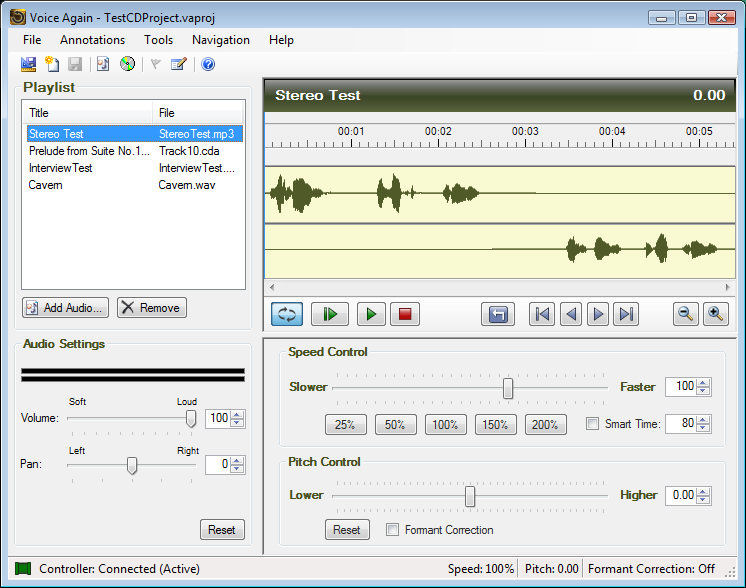
Voice again can import a variety of audio file formats including Microsoft Wave
(WAV), Ogg Vorbis (OGG), Windows Media Format (WMA) and MP3 Audio (MP3). You can
import audio into the playlist by clicking on the "File>Import Audio.." menu
item. This will launch the "Import Audio Wizard" which allows you to pick a file
and optionally apply noise reduction. Once you finish the wizard, the audio file
that you have chosen will be added to the playlist.
You can also import a file into the playlist by using the "Add Audio" button
below the playlist control. This will add the audio file to the playlist without
noise reduction. You can also add audio files to the playlist by drag and
dropping the files from your desktop or any folder onto the playlist control.
|
|
|
Playing Audio, Annotations and Navigation
|
Click on an item in the Playlist to display the audio in the Track View. To play
the audio, click on the "Play All" button on the bottom far left part of the
Track View. This will start the playback of the audio. You should hear the audio
play from your speakers and the Track View will display a blue cursor where it
is currently playing the audio. You can stop the playback by clicking on the
"Stop" button.
You can select a section of the audio by left click dragging over the Track
View. This will create a highlighted region that shows where you are selecting
the audio. If you click the "Play from selection" button it will start playback
at the beginning of the selection and play until the end of the selection.
Clicking the "Repeat" button will allow you to loop playback in the selected
region of the Track View.
Annotations help you organize the audio in the Track View into regions which you
can optionally add textual information. To add an annotation, select the region
you would like to create with your mouse. Next click on the "Annotations>Add
Annotation.." menu item. This will put marker flags in the selected region.
To navigate forward and backward in the audio, use the "Fast Forward" and
"Rewind" buttons which are located to the right of the Play and Stop
buttons. You can also use the "Go to
Beginning" and "Go to End" buttons to quickly go to the beginning or end of the
audio. The "Instant Replay" button lets you move the play cursor back by 2
seconds.
|
|
Modifying Speed and Pitch
|
You can modify the speed of a recording by moving the "Speed Control" slider
left (slower) or right (faster). You can also use the speed control buttons
which range from 25% to 200% for changing the speed. Slowing down a recording is
useful for picking up details in the audio that would not be easy to hear at
normal speed. Increasing the speed of a recording allows you to save time by
quickly scanning the audio.
The "Pitch Control" lets you change how frequency or pitch the recording will be
played back. You can change the recording up to minus or plus two octaves. This
lets you lower a high voice or raise a low voice in order to improve
intelligibility. Formant Correction provides a way of producing a more natural
sounding voice during pitch shifting.
|
|
Creating an Audio Files
|
|
Voice Again can render to WAV, OGG, WMA formats. To render one or more of the
items in the playlist to one of these media types, click on the "File>Render
Audio File.." menu. This will bring up a "File Render Wizard" dialog. This wizard
will let you choose one or more of the playlist items, the audio format, and the
folder where these files will be created.
|
|
|
|
Click to Go Back
|
|